Behind the Wall Tub and Valve Install Done Right
Most people never think about what's behind the wall in their bathroom - until something goes wrong. Low water pressure, leaks, inconsistent hot water - a lot of those issues trace right back to a sloppy rough-in that nobody caught because the wall was already closed up.
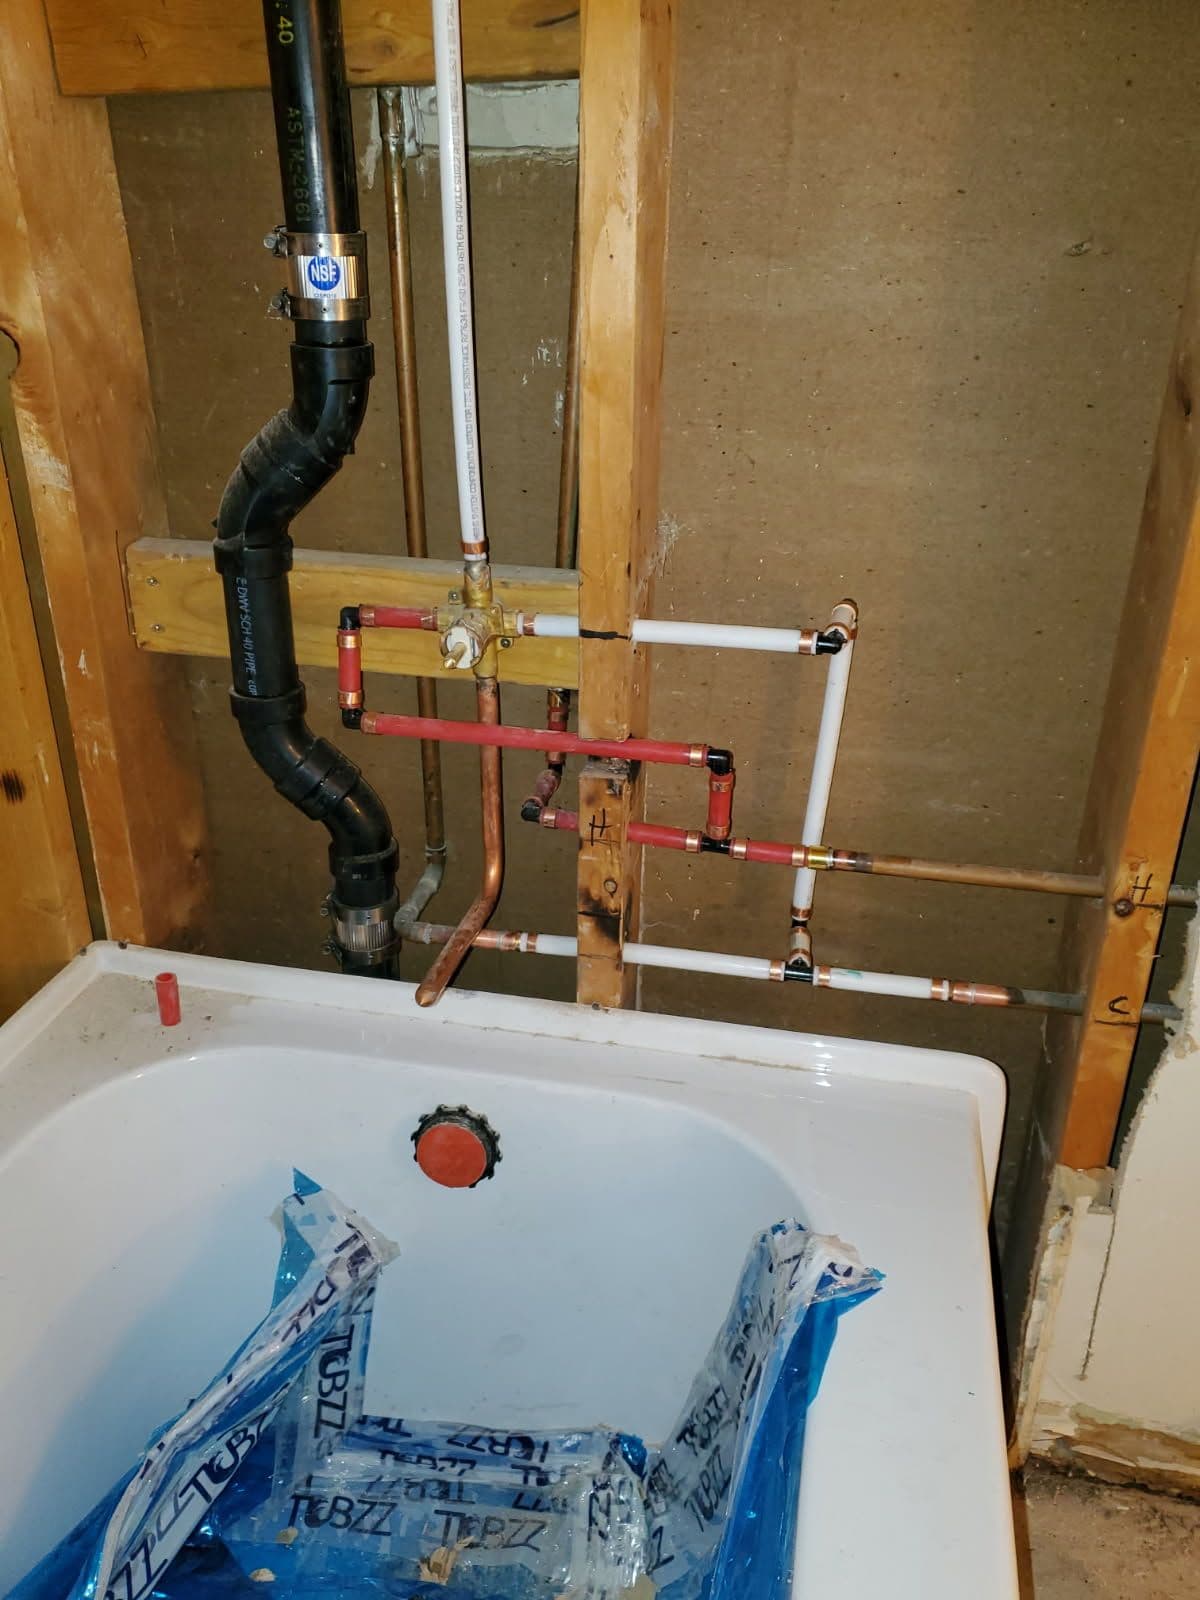
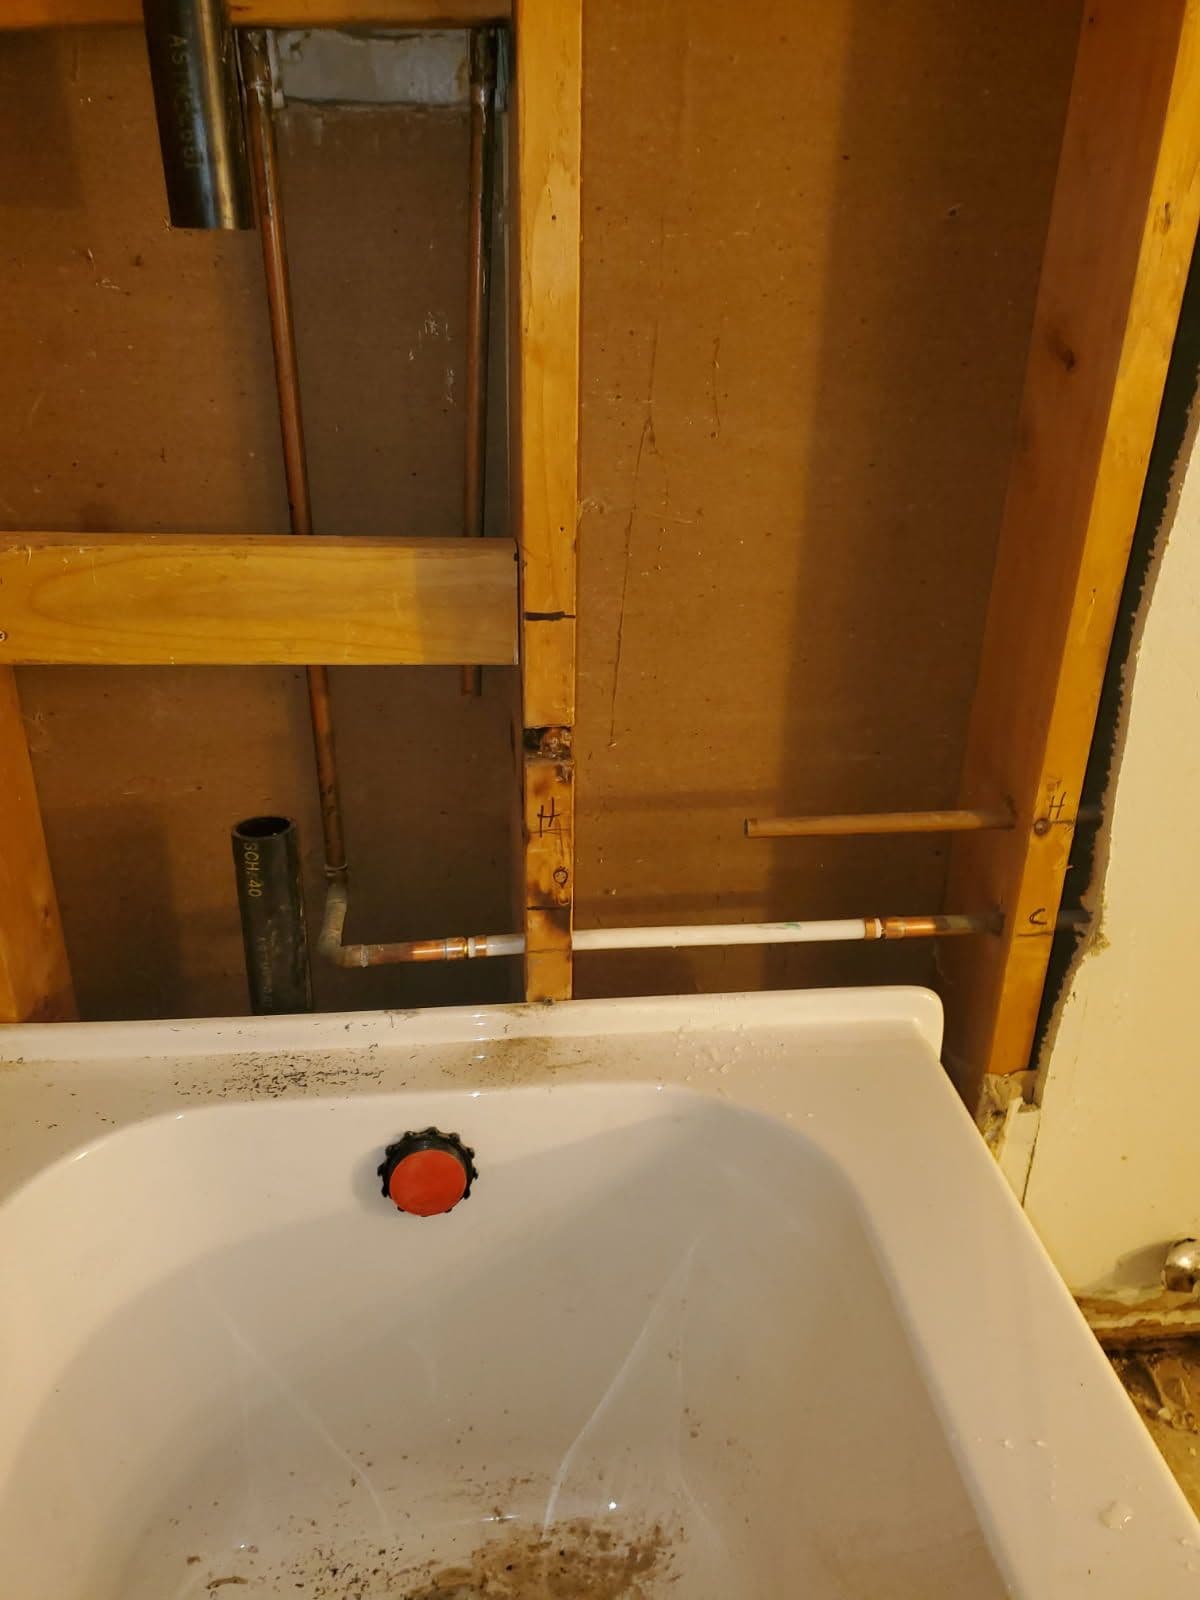
Here's what we were working with on this one. A fresh tub going in, which meant we had the wall open and a real opportunity to do the plumbing the right way from the start. That's not something we take lightly. The supply lines, the valve body, the drain rough-in - every connection matters here because once the wall closes, it's not easy to get back in there.
We ran dedicated hot and cold supply lines and set the valve in a position that gives clean, reliable water delivery to the tub. The copper and PEX work is neatly routed and properly supported inside the framing cavity. No shortcuts. That kind of attention during the rough-in phase is exactly what separates a bathroom that performs well for years from one that starts causing problems before the tile is even on the wall.
This is the kind of work that falls right in line with our bathroom renovation and repiping services. Whether we're doing a full gut-and-rebuild or just updating the plumbing on a tub swap, the approach is the same - clean work, correct materials, and no cutting corners on what goes behind the drywall.
Getting the foundation right is everything in a bathroom remodel. The finish work gets all the attention, but it's what's inside the wall that determines how well the whole thing holds up long-term.